Connect Wallet
Step-by-step instructions to connect your wallet and start using Vixor.
🔐 Connect Your Wallet
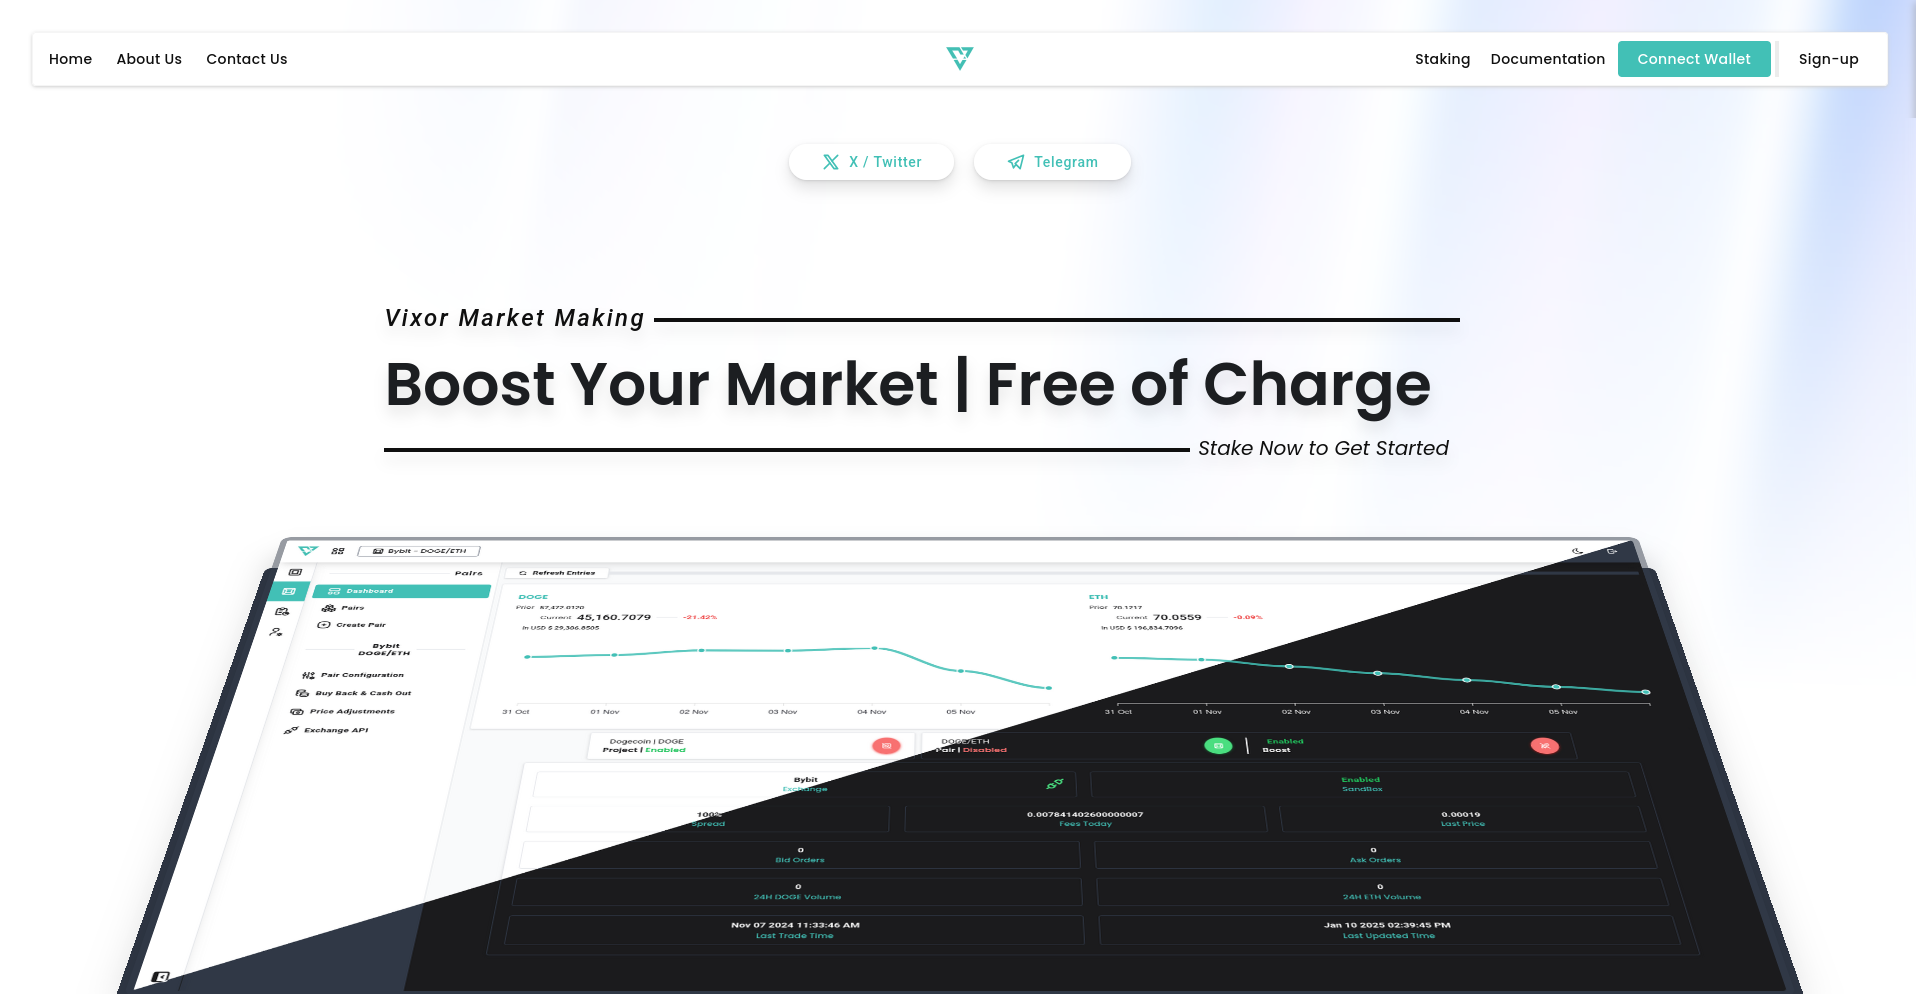
Before using any features on the Vixor platform, you need to connect your crypto wallet. This step allows Vixor to recognize your address and grant access to market-making functionalities.
🪄 Step-by-Step Guide
1. Locate the Connect Button
In the top-right corner of the Vixor homepage, click the "Connect Wallet" button. This will open a wallet selection window.
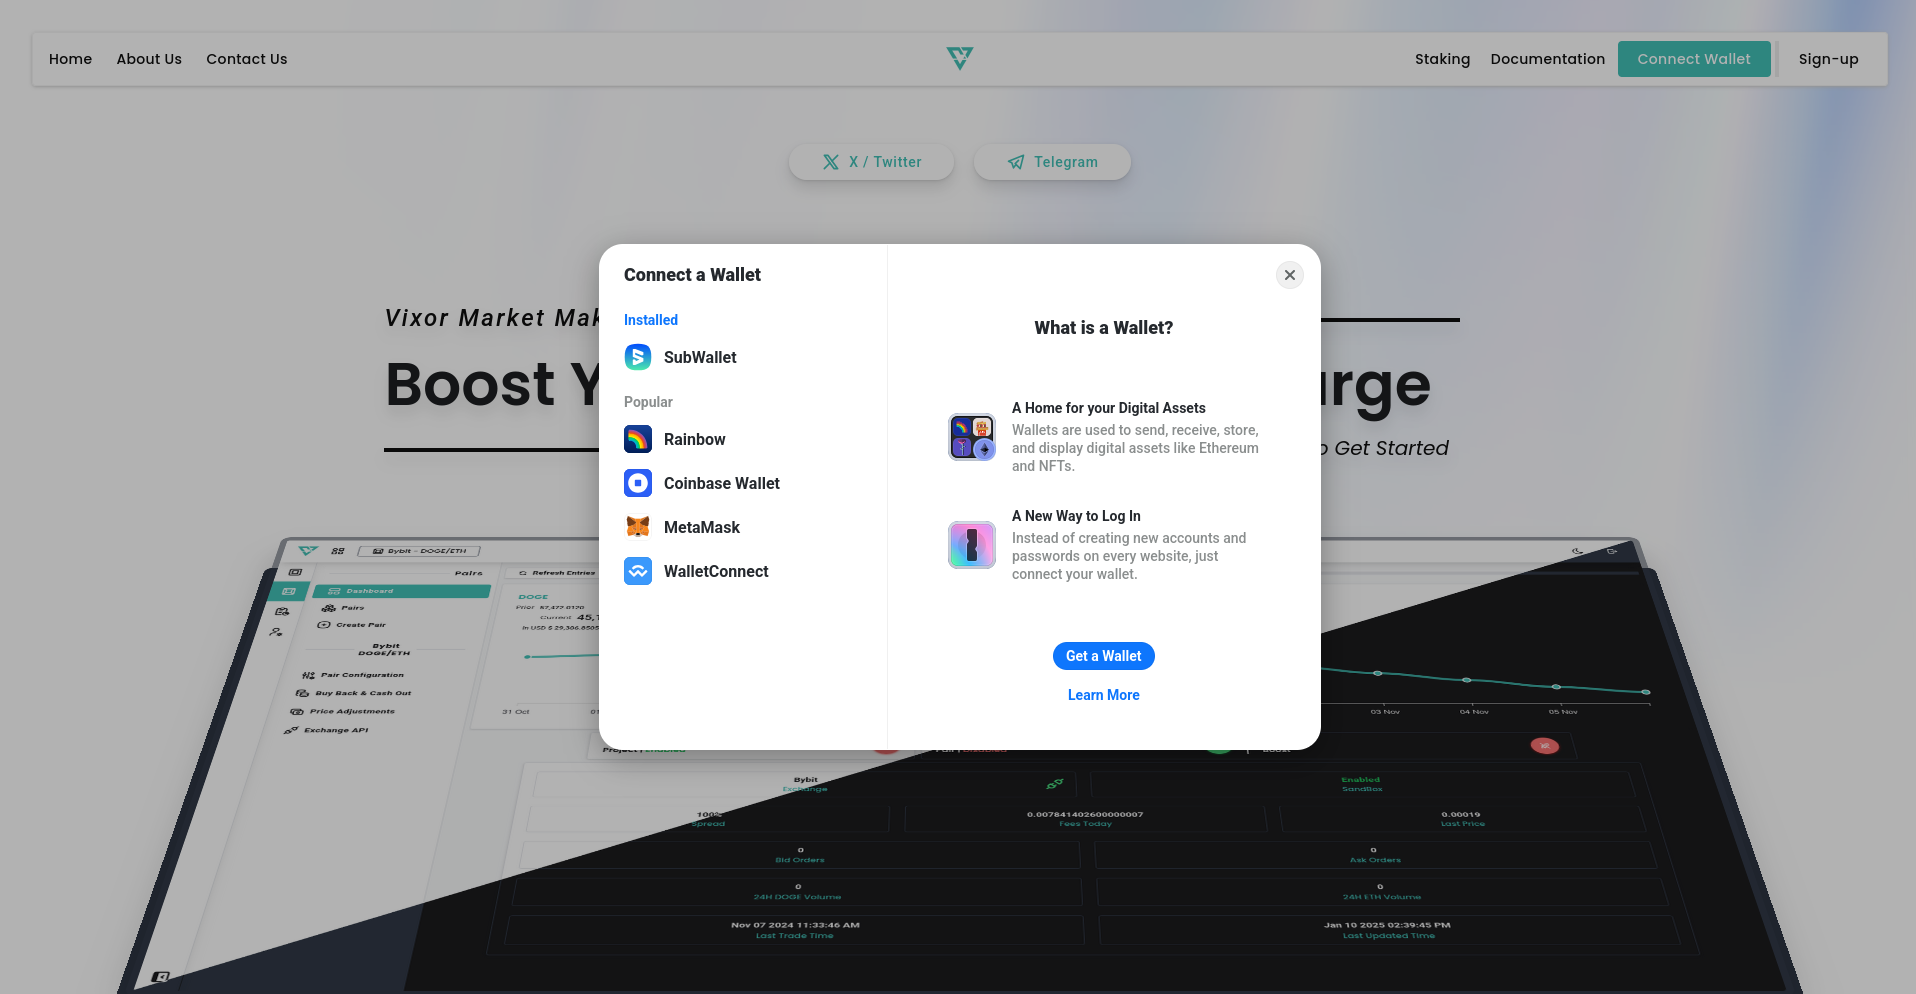
2. Choose Your Wallet
You’ll see options like MetaMask and SubWallet if have those installed. Click on the one you use:
- MetaMask – One of the most popular Ethereum-compatible wallets.
- SubWallet – A wallet commonly used in the Polkadot/Substrate ecosystem.
- Other Wallets – If you use a different wallet, select it from the list.
🔐 Tip: Make sure your browser extension or mobile app is open and unlocked before proceeding.
3. Approve the Connection
Once you select a wallet, you’ll receive a prompt asking for your approval. Confirm the connection request in your wallet interface.
4. You're Connected!
After approval, your wallet address will appear in the top-right corner. This means you're ready to begin using Vixor’s market-making tools.
🧩 Don’t Have a Wallet Yet?
Click the "Get a Wallet" button in the wallet selection popup. It will guide you through creating and installing a wallet if you're new.
Now that your wallet is connected, you’re ready to create trading pairs, configure MM strategies, and access analytics. Let’s continue with the next step!
